


Today we will talk about Audio and Video Tags of HTML.
Audio and Video tags are very powerful tags in HTML as no matter how many fancy libraries you use to play audio and videos on your webpage under the hood these native elements are working for you to get your work done. Gone are the days when flash players used to be responsible for playing audio and video in the browser. Now, it is very easy to inject these media elements into your webpage using just native HTML elements.
Audio Tag
An audio tag is used to play audio tracks on your web page.
Syntax:
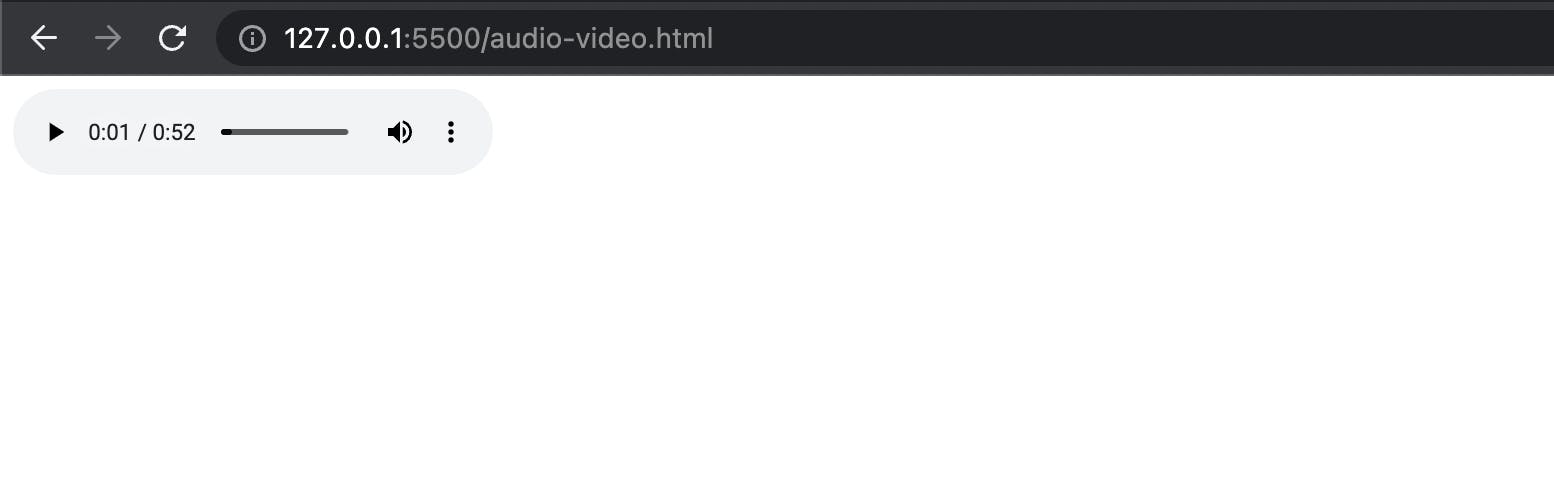
  <audio controls>
        <source src="./xmas.mp3" type="audio/mp3">
    </audio>
The above code will show the following output.
Let's take a moment to understand the syntax.
< audio > tag is used to tell the web page that we will be injecting the audio into the webpage. Then there is the controls attribute inside the audio tag which is responsible to show the play/pause volume and seek bar controls.
You can supply multiple sources to audio tag with different audio file extensions and the source will get picked according to the browser's audio compatibility.
There are the following attributes that you can add to the audio tag.
controls: -> As discussed above the controls attribute is responsible to show the play/pause, volume, and seek bar controls in the webpage for the audio element.
autoplay: -> Autoplay attribute will make the audio play as soon as the web page gets loaded even without clicking the play button.
loop: -> Loop will keep the audio playing again and over again from the start once it has played to the complete length.
Video Tag
Video tag is used to render videos on the web page it has almost the same set of features and attributes as an audio tag with the extra power of showing graphics. It has a few more attributes in addition to the audio tag which are as follows.
preload: -> Preload attribute helps to load the data about the file beforehand to get rid of the buffering issues. It has values as none, auto, and metadata. The auto will start loading/downloading the file into the video element as soon as the page loads and metadata will download the metadata of the file only.
poster: -> Poster takes an address for an image file that can act as a thumbnail for our video player. This accepts both local and remote file addresses.
width: -> Width is used to specify the width of the video player.
height: -> Width is used to specify the height of the video player.
Syntax:
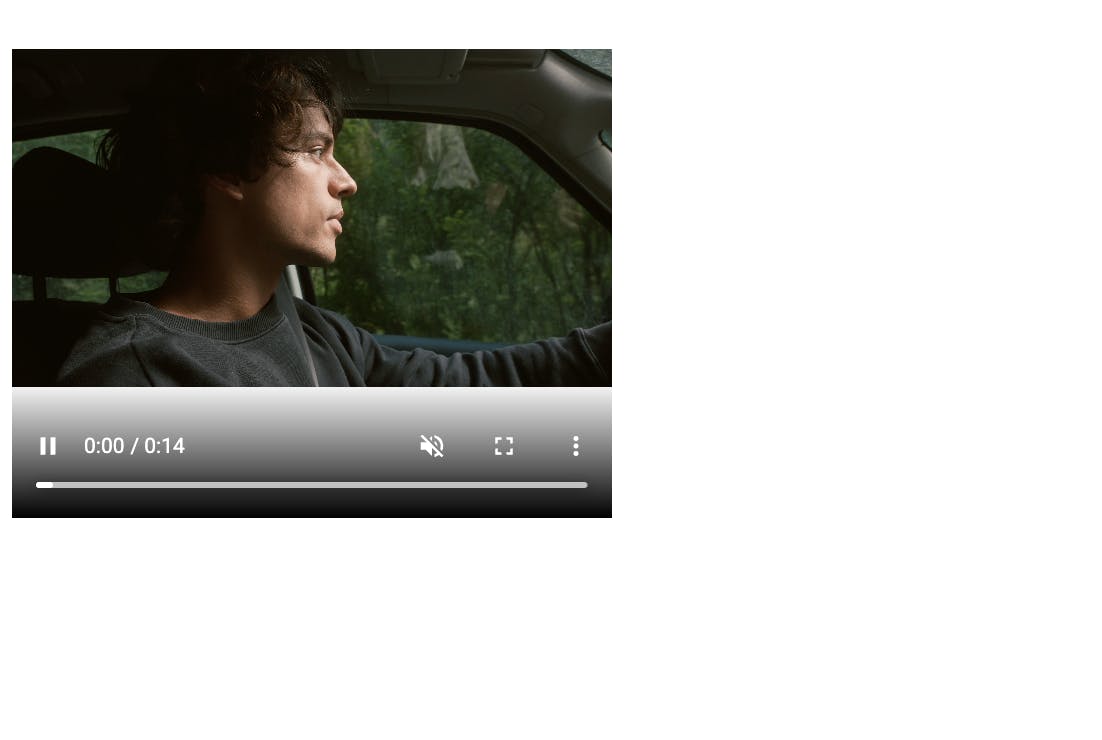
 <video controls autoplay loop muted poster="./poster.jpg" width="400" height="400">
        <source src="./demo.mp4" type="video/mp4"/>
    </video>
Output:
Please share your feedback in the comments. It will help me improve. Thank you 🙇🏻
Learn and grow together, Keep Learning