


What is Vue.js
According to the Official website of Vue.js, Vue is
The Progressive JavaScript Framework
Vue.js is a progressive javascript framework. It is mainly used for creating interactive web interfaces along with single page applications.
What are we going to build in this tutorial?
We will create a simple Vue application with some real data. Which we will grab from random user API.
My live demo app can be seen here
Why I have decided to create First Vue application with some real data over any Todo or Hello World application?
- Real data allows you to design the web interfaces for real world application in an efficient way. So, that you do not have to worry about the breaking UIs.
- Since, we will have large data we can use it to cover some good and important concepts of the Vue application.
Topics to be covered.
- Installing Vue Cli
- Vue UI
- Components
- Props
- Directives (such as v-if, v-for etc) Don't worry we will talk about these in detail.
Let's Get Started.
A. Installing Vue Cli
yarn global add @vue/cli
### OR
npm install -g @vue/cli
Open terminal/cmd and run any one of the above given commands. I personally, prefer installing via yarn but feel free to choose one you like.
B. Vue UI
Vue UI is a graphical user interface which allows you to control the various tasks related to your project. For example :- Installing dependencies, Creating new project, managing plugins, starting your application and a lot more.
To access Vue UI. Open terminal/cmd and run the following command
vue UI
After running the above command. Following page will open in your default web browser.
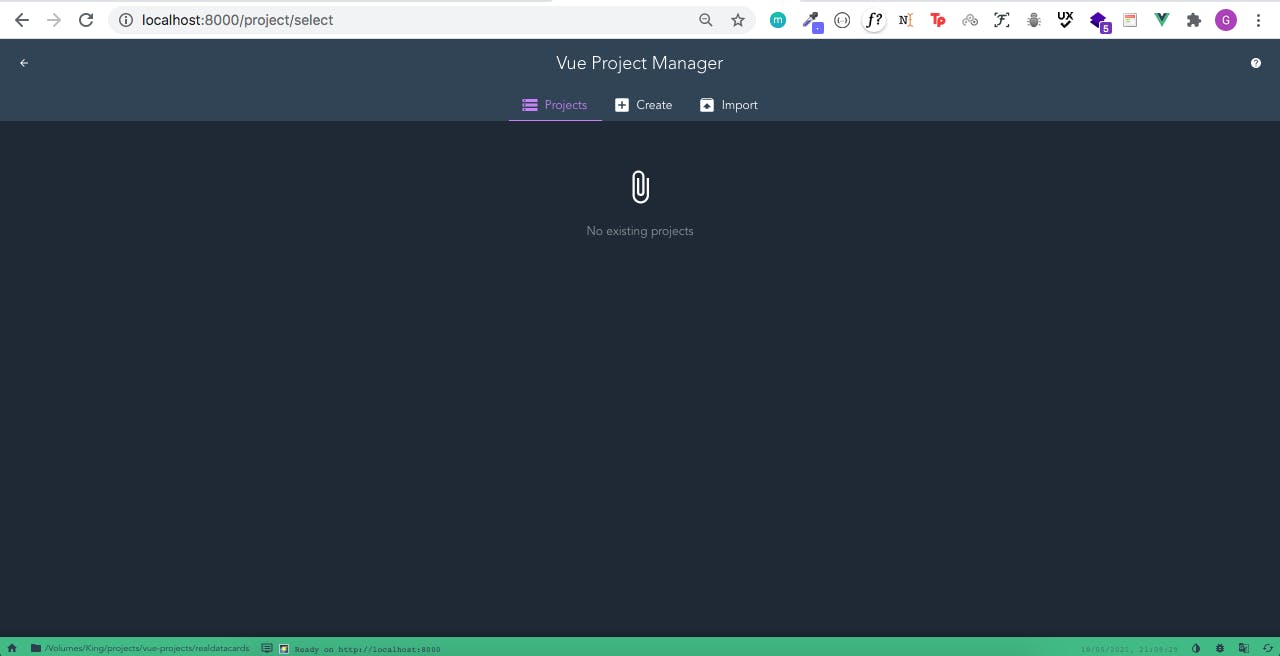
1. Click on Create and then Create Project Button. On the next page you will have following form.
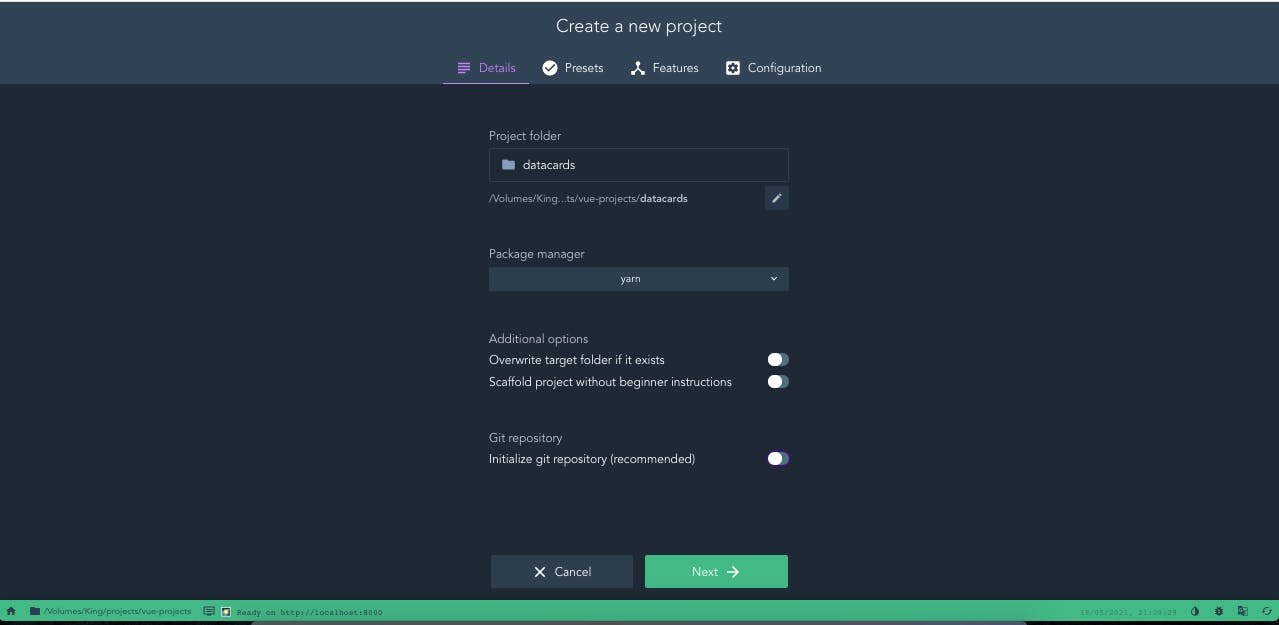
a. In the form choose a name for your project and then select the package manager. I have selected yarn as my package manager. Feel free to pick npm if you are comfortable with that.
b. Since, I do not want to include git in the project so i have turned off the last option.
c. Then Click on next
2 Now you will be on Presets Page
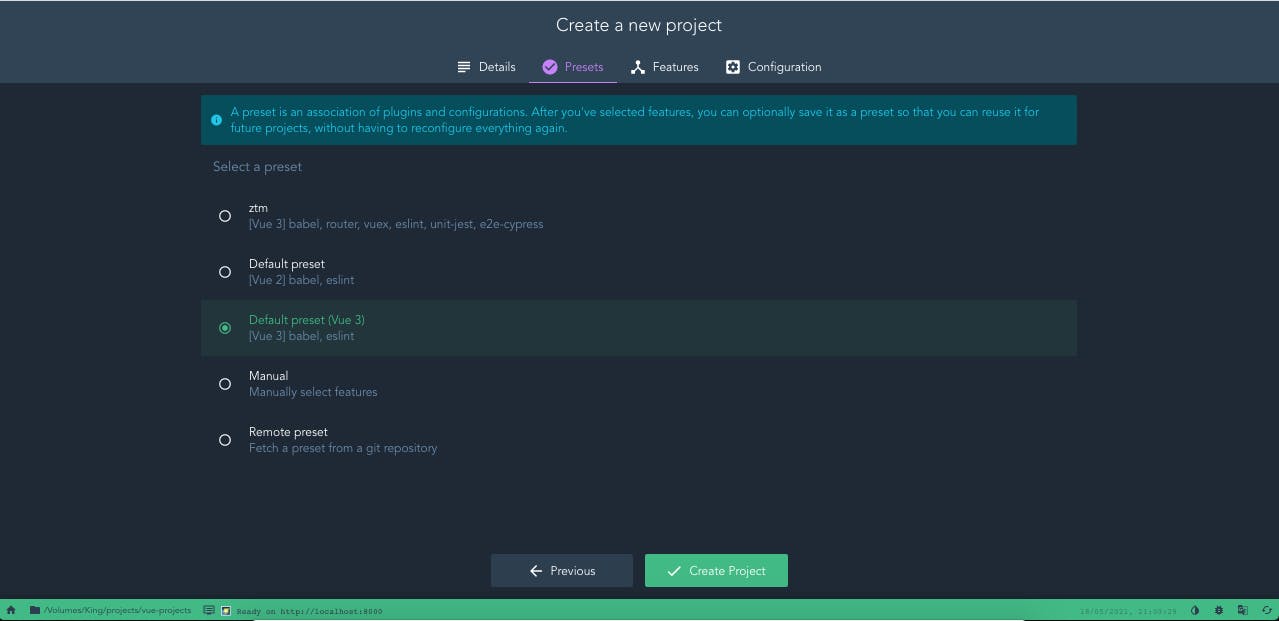
a. From the list of presets please pick the Default Preset(Vue 3) for this project.
3 Once your project is created, please open it in your favourite text editor. I am going with Visual Studio Code.
Following is our project structure as of now.
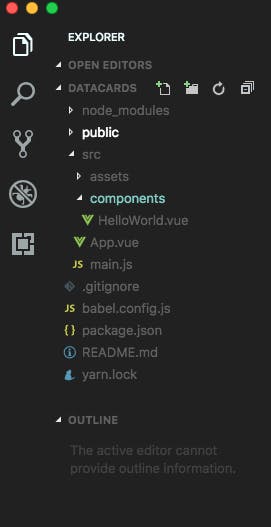
a. Please Rename the HelloWorld.vue to UserCard.vue
b. Empty out both UserCard.Vue and App.vue file.
C. Component
In Vue components are the smallest building blocks which makes up the whole applications. Along with that, components are reusable.
Vue Component has following three main parts.
<template>

</template>

<script>
export default {

}
</script>

<style>

</style>
Template is the part of vue component where we write our HTML part. It cannot be left blank in component.
Script is the part of vue component which handles the javascript part of our component.
Style part handles the css part of the component.
Please copy the three elements of the component from above code snippet and paste them in both App.vue and UserCard.vue
Our App.vue and UserCard.vue files should look like this now.
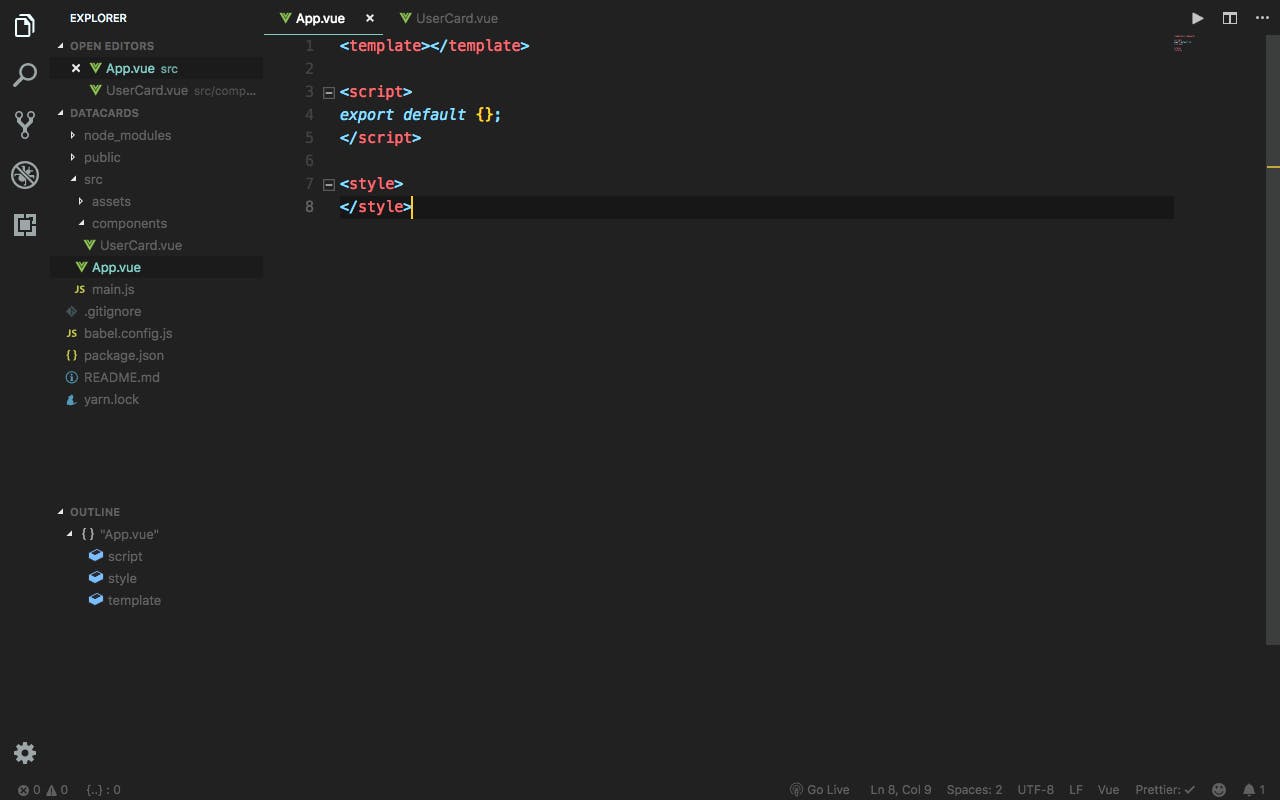
Please copy the data file from here and keep it in your src folder with the name data.js
<script>
import data from "./data.js";
import UserCard from "./components/UserCard";

export default {
  name: "App",
  data() {
    return {
      data: data
    };
  },
  components: {
    UserCard
  }
};
</script>
Write above code in the script part of your App.vue file.
a. First of all we are importing the data file and the UserCard component into the App component.
b. In the exported object we have provided the name it is optional. But it is helpful in during debugging process.
c. Then we have a data property which is returing the data. data property is very useful and important in any components. Since, all the data(values of integers, arrays etc) which component will later use resides in this data property.
d. Then we have components. In this we register the components which we will use in the current component. Since, we have only one component to be used so we have added only one.
Now, in the template part of App.vue please add the following code.
<template>
  <div>
    <UserCard v-for="(user, i) in data" :key="i" :user="user" />
  </div>
</template>
Let's see what is going on here.
a. We have div tag which is a HTML tag. b. Then we have used UserCard component.
In this we have used v-for directive
- v-for directive works like a for loop of any programming language. In UserCard we have used v-for to loop over the data.
- :key it is an important binding which you should include with v-for directive to uniquely identify the each element which we have as a result of each looping iteration.
- :user it is a prop which we are sending to the UserCard component. It will hold the record of single user which is currently being looped over.
Add the following code in style part of your App.vue component for styling purposes. You can use your own stylings as well 😃 .
* {
  box-sizing: border-box;
}
body {
  margin: 0 auto;
  padding: 0;
  font-family: sans-serif;
  background: #540804;
  color: white;
  width: 80vw;
}
@media screen and (max-width: 460px) {
  body {
    width: 60vw;
  }
}
</style>
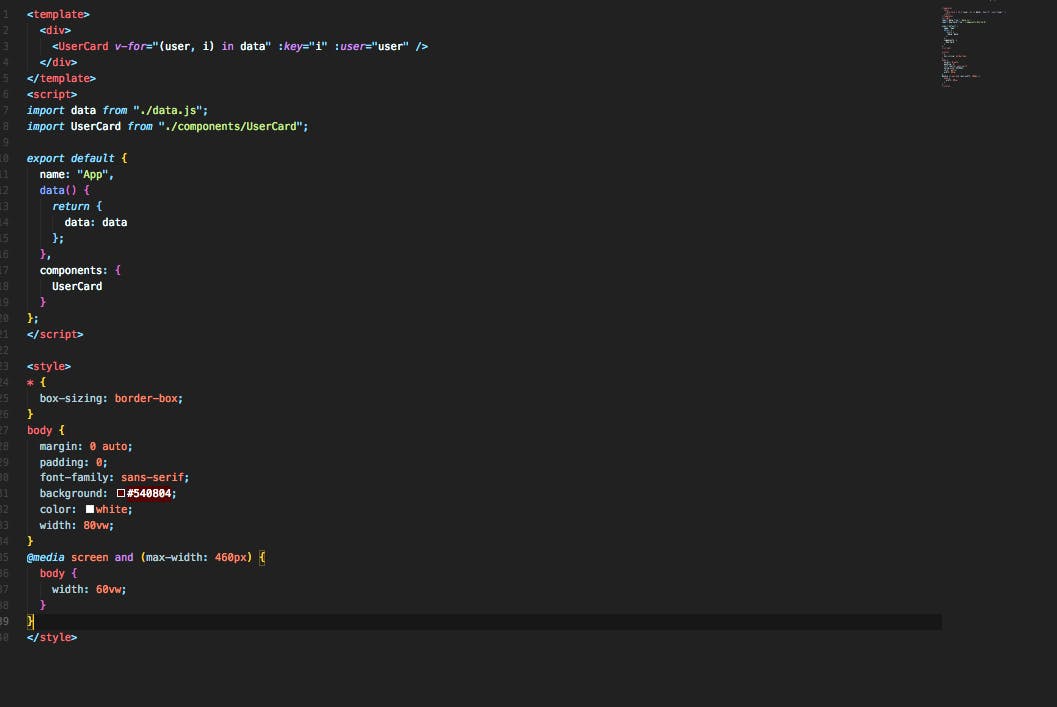
We are done with our App component. It should look something like this
What are props ?
We have used props on UserCard component. But what is props?
It is a short for properties. Props are nothing but a way to pass the data down to the child component. In other words it is a way which we use to communicate between components.
Let's start working on the UserCard component
<script>
export default {
  name: "UserCard",
  props: ["user"]
};
</script>
Write the above code in the UserCard component's script part.
- props property is new here which was not available in the previous component. So, what it is? It is nothing but a property to register the props which we are going to accept in our component. If you remember we passed user props from App component to the UserCard component. That's what we are registering here
Please add the following code in the template part of our UserCard component.
  <div class="user-profile-container">
    <div
      class="user-profile-status"
      :class="{ 'user-profile-status-active': user.status === 'active', 'user-profile-status-inactive': user.status === 'inactive'}"
    />
    <img
      :src="user.picture.medium"
      class="user-profile-avatar"
      :alt="user.name.first"
      v-if="user.picture.medium"
    />
    <div
      class="user-profile-placeholder"
      v-else
    >{{user.name.first.charAt(0).toUpperCase()}} {{user.name.last.charAt(0).toUpperCase()}}</div>
    <h2 class="user-profile-name">{{user.name.first}} {{user.name.last}}</h2>
    <p class="user-profile-location">{{user.location.city}} {{user.location.state}}</p>
  </div>
</template>
Let's go through the template.
:class="{ 'user-profile-status-active': user.status === 'active', 'user-profile-status-inactive': user.status === 'inactive'}"
In this line of code we are dynamically adding class name to the html component. We are saying if user.status is active then add user-profile-status-active class or the otherwise.
- here user is the prop which gives us the access to user data
 <img
      :src="user.picture.medium"
      class="user-profile-avatar"
      :alt="user.name.first"
      v-if="user.picture.medium"
    />
- In the above code we are dynamically adding src of image. We are fetching it from user data.
- Another main thing in above code is v-if directive it is basically a if statement which is checking if there is any value in user.picture.medium . if it gets evaluated to true then show the image.
- If it gets evaluated to false then it will show the next component with v-else directive.
Add below code in style part of UserCard Component
<style>
.user-profile-container {
  background: #c75146;
  display: inline-block;
  margin: 20px;
  padding: 25px 10px;
  border-radius: 10px;
  text-align: center;
  transition: 0.15s transform ease;
  cursor: pointer;
  width: 180px;
  position: relative;
}
.user-profile-container:hover {
  transform: scale(1.1);
}
.user-profile-avatar {
  border-radius: 100px;
  margin: 0 auto;
  display: block;
  width: 65px;
}
.user-profile-placeholder {
  background: #333;
  padding: 25px 19px;
  letter-spacing: 0;
  height: 65px;
  width: 65px;
  margin: 0 auto;
  border-radius: 100px;
  color: #aaa;
  font-weight: bold;
}
.user-profile-name {
  font-size: 15px;
  text-transform: capitalize;
  margin-bottom: 5px;
}
.user-profile-location {
  text-transform: capitalize;
  opacity: 0.4;
  margin-top: 0;
  font-size: 13px;
  text-align: center;
  display: inline-block;
  margin-bottom: 0;
  width: 120px;
  white-space: nowrap;
  overflow: hidden;
  text-overflow: ellipsis;
}
.user-profile-status {
  width: 8px;
  height: 8px;
  background: #4a4a4a;
  border-radius: 10px;
  position: absolute;
  left: 12px;
}
.user-profile-status-active {
  background-color: #1af042;
  box-shadow: 0 0 7px #1af042;
}
.user-profile-status-inactive {
  background-color: #f0aa1a;
}
</style>
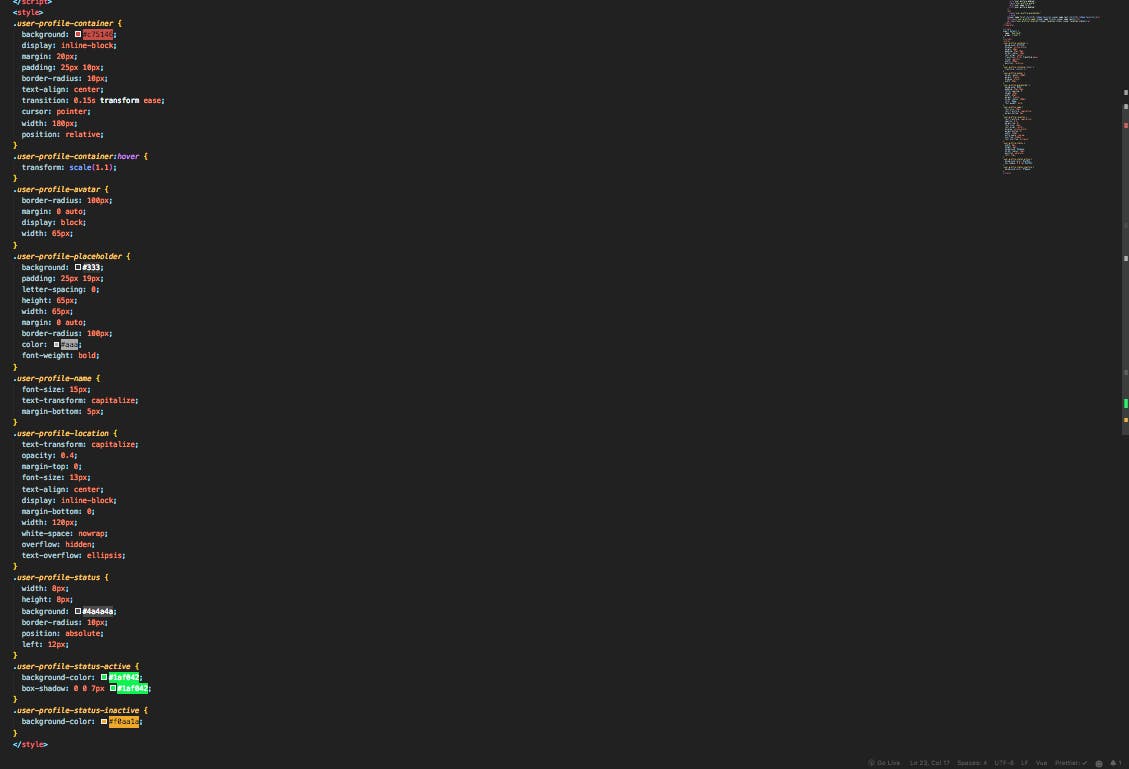
We are done with are components. Your UserCard component should look something like this.

vue ui
run this command in terminal/cmd
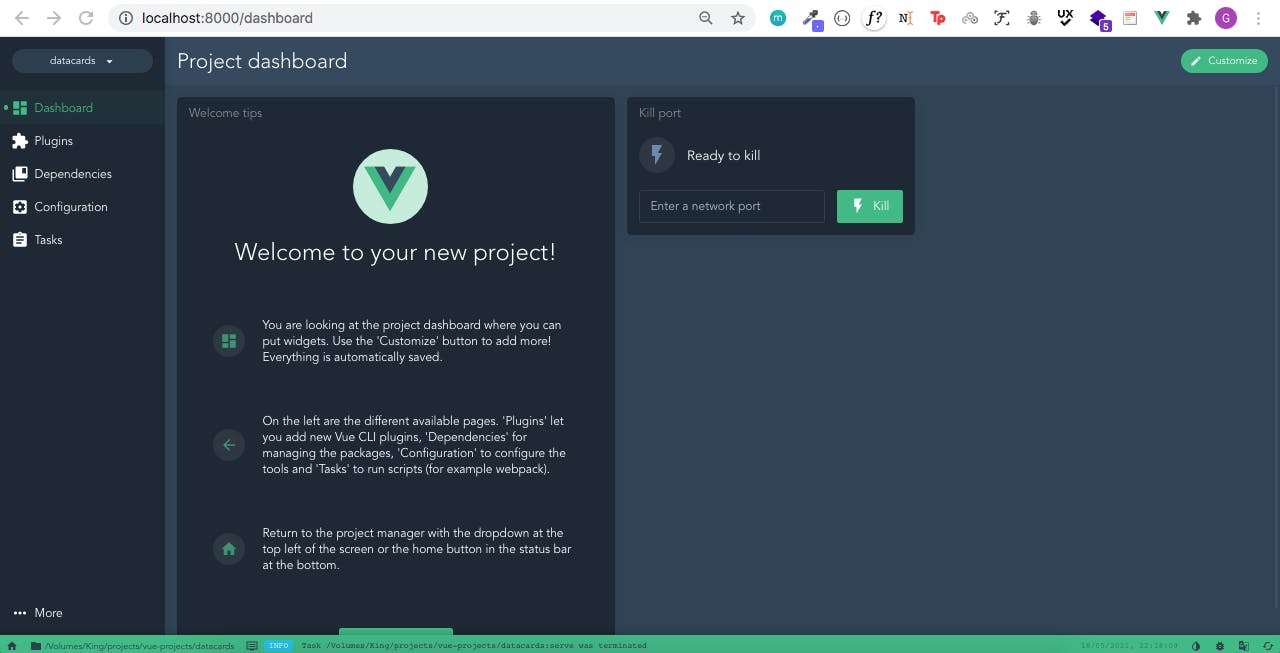
This page will open in your browser.
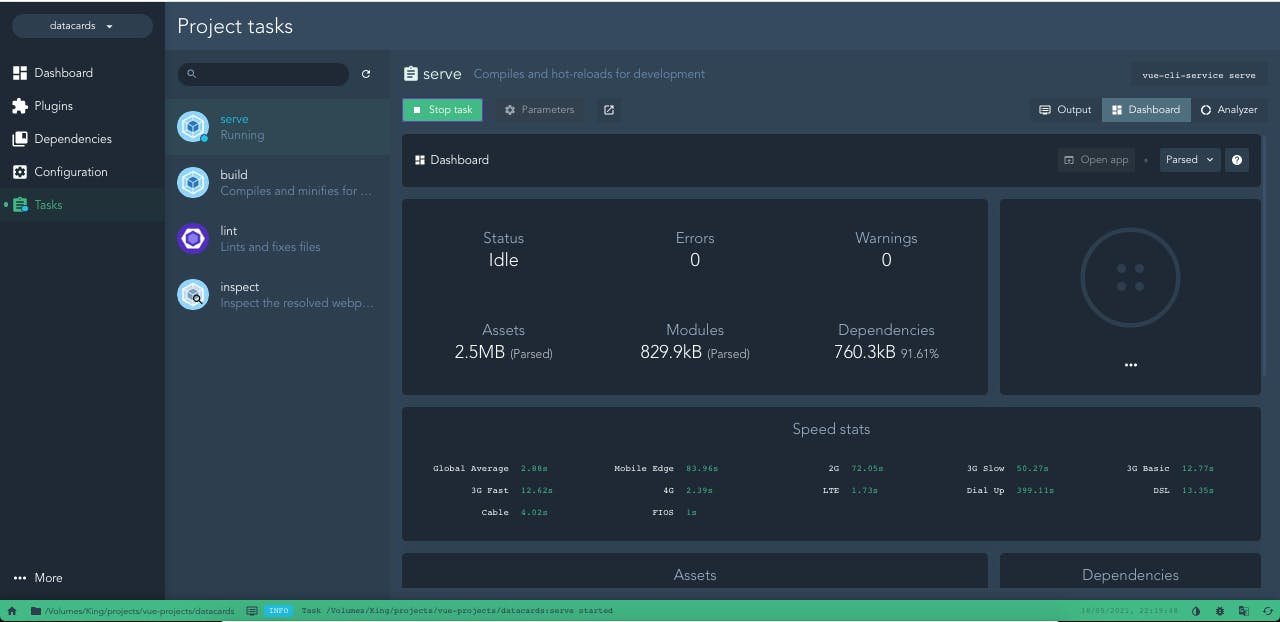
- Click on Tasks option on the left side panel.
- Click on Run Task on the page
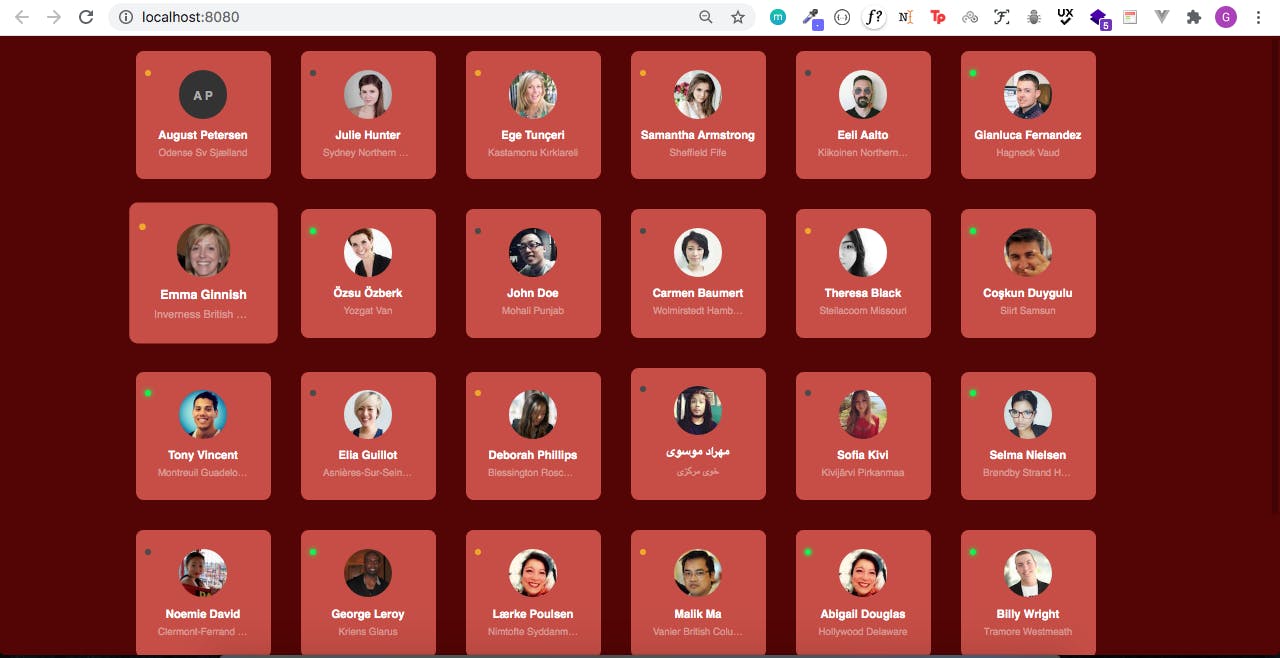
- Click on Open app.
Output
Thank you !. Happy Learning. Please reach me out in case of any issues 😃 .